
How to Choose the Best Shot Blasting Tools?
Choosing Shot Blasting Tools is not simply a matter of buying the most powerful machine. The right setup depends on the workpiece, abrasive, finish target, and available workspace. A small workshop cleaning brackets has different needs from a production line treating large steel plates. The distinction matters.
Look at the full process, not one specification. Check the blast machine’s capacity, nozzle or wheel design, abrasive compatibility, dust collection, and replacement-part availability. Then compare these details with your daily workload. A tool that performs well for short jobs may struggle during continuous operation. That can mean uneven coverage, extra cleanup, or avoidable wear.
Safety and measurement deserve equal attention. Confirm that the system supports effective dust control and that operators can follow the manufacturer’s instructions. Test the equipment on a representative sample, then inspect the surface under consistent lighting. A clean-looking part is not always a uniformly prepared part. Small differences matter.
An expert quotation needs a verifiable source. Since none was provided, this introduction does not invent one or attribute words to a named specialist. That is worth acknowledging. In the guide ahead, we will compare tool types, abrasive choices, performance factors, and maintenance needs. The goal is practical: choose Shot Blasting Tools that match the job, deliver repeatable results, and make sense for your workshop—not just the sales sheet.
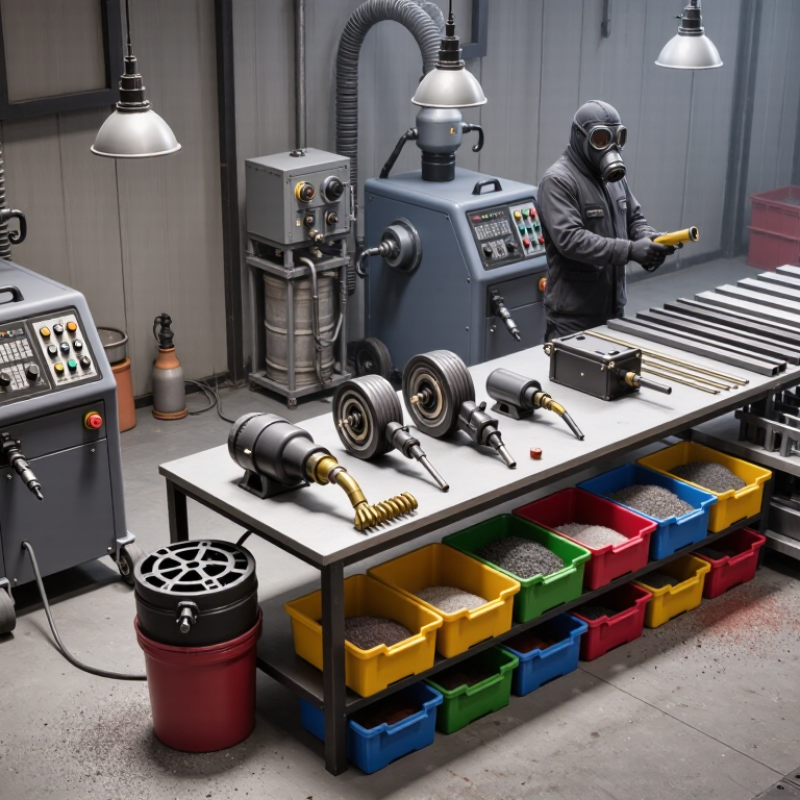
Set the Cleanliness Target: ISO 8501-1 Defines Sa 2½ as Very Thorough Cleaning
Before choosing shot blasting tools, set the required cleanliness level. ISO 8501-1 defines Sa 2½ as very thorough blast-cleaning. Without magnification, the surface must be free of visible oil, grease, and dirt. Mill scale, rust, coatings, and other foreign matter must be removed almost entirely. Only slight stains may remain, often as faint spots or stripes. That distinction matters.
Sa 2½ does not prescribe one abrasive or a particular surface profile. Select the abrasive, nozzle, and air supply to suit the metal, coating specification, and work area. For example, a narrow steel corner may need a smaller nozzle and careful passes, while a broad plate calls for steady coverage. Keep dust extraction effective; poor visibility makes missed patches more likely. Corners and weld toes are easy to overlook, so inspect them closely.
Judge cleanliness under consistent lighting and viewing conditions, using ISO 8501-1’s visual descriptions as the reference. A bright surface can still retain contamination. Also, cleanliness and surface profile are different checks: Sa 2½ describes visual cleanliness, while profile needs its own suitable measurement. If the result falls short, adjust the blasting setup and reassess rather than assuming a longer pass will fix everything.
How to Choose the Best Shot Blasting Tools? — Set the Cleanliness Target: ISO 8501-1 Defines Sa 2½ as Very Thorough Cleaning
| Selection or Inspection Factor | Practical Guidance | How to Verify |
|---|---|---|
| Cleanliness target | Specify the required preparation grade before choosing equipment. ISO 8501-1 Sa 2½ is “very thorough blast-cleaning”: visible oil, grease and dirt must be removed, and mill scale, rust, paint coatings and foreign matter must be removed to the extent that only slight traces remain as spots or stripes. | Compare the prepared surface with the applicable ISO 8501-1 visual reference photographs under suitable lighting. |
| Existing surface condition | Assess the steel’s initial rust and coating condition, the type and thickness of existing coatings, and whether the surface has pits or difficult-to-reach areas. These factors influence the preparation effort and tool setup. | Record the initial condition and inspect representative areas before production blasting. |
| Abrasive shape | Round steel shot is commonly used where a more peening action is desired. Angular steel grit cuts more aggressively and can help remove tightly adherent scale or coatings. The result depends on the abrasive, equipment, operating conditions and substrate. | Run a trial on representative steel and check cleanliness, surface profile and abrasive condition. |
| Abrasive size and hardness | Choose size and hardness to suit the contaminant, required profile, substrate and blasting equipment. Larger or harder particles can increase impact energy, but the correct choice must be established for the application rather than assumed from cleanliness grade alone. | Check the supplier’s abrasive specification and confirm results with a production trial. |
| Surface profile | Sa 2½ describes visual cleanliness; it does not specify a surface-profile value. Set a separate profile requirement based on the coating system and project specification. | Measure profile using an appropriate method, such as a replica tape or a suitable surface-profile instrument, in accordance with the project procedure. |
| Soluble salts and other invisible contaminants | A visual cleanliness grade does not establish that soluble salts or other invisible contaminants are absent. Include separate limits and testing when required by the coating specification or project requirements. | Use the specified field test method and acceptance limit; do not treat visual inspection as a salt test. |
| Equipment capacity and coverage | Match the blasting system’s capacity and working pattern to the component size, geometry and required production rate. Confirm that edges, welds, recesses and other difficult areas can be reached consistently. | Inspect both accessible and difficult-to-reach areas during the trial and after blasting. |
| Operating controls | Follow the equipment and abrasive supplier’s operating guidance. Keep the abrasive clean and in suitable condition, and maintain consistent settings and technique to help achieve repeatable results. | Check operating records, abrasive condition and prepared surfaces at defined intervals. |
| Final acceptance | Accept the work against the specified cleanliness grade and any separate requirements for profile, salts, dust or coating readiness. Protect prepared steel from contamination and flash rust before coating. | Document visual inspection and all required supplementary measurements before coating begins. |
Note: ISO 8501-1 visual preparation grades and surface-profile requirements are separate checks. Always follow the project specification and the coating manufacturer’s requirements.