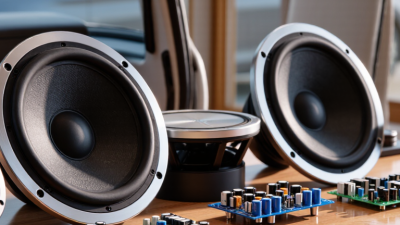
Choosing the best component speakers in 2026 takes more than comparing brand names or power ratings. A component set separates the woofer, tweeter, and crossover, giving buyers more control over placement and sound. Yet fit still matters. A tweeter that sounds smooth in a showroom may feel sharp inside a reflective car cabin. Small details matter.
Loudspeaker researcher Floyd Toole’s work offers a useful reminder. In paraphrase, judge a speaker by its performance in real listening conditions, not by one specification alone. That principle guides this buyer’s introduction. We’ll consider sound quality, sensitivity, impedance, crossover design, installation needs, and value across different markets. A low price can look attractive, but shipping, local availability, and warranty support may change the real cost. Not every model suits every vehicle. Nor does a higher price guarantee a better match.
The comparisons ahead are intended to help global buyers narrow their options, not promise identical results everywhere. Cabin materials, mounting depth, amplifier choice, and personal taste can all shift what sounds best. I would be cautious about any ranking that ignores those differences. Some trade-offs are easy to miss. Expect practical guidance, clear criteria, and a few limits worth questioning before you buy.
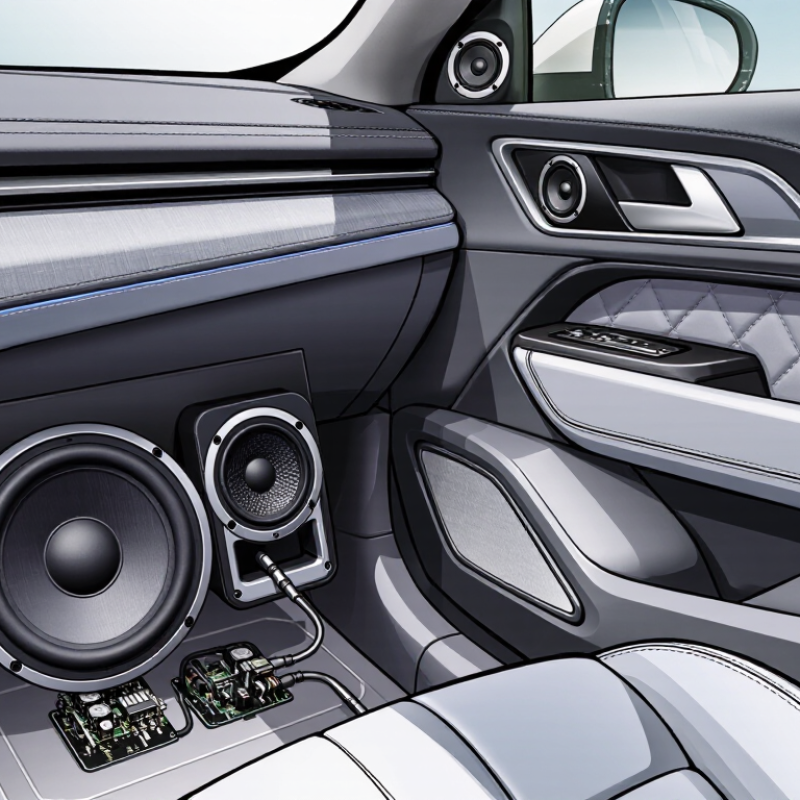
A component speaker system separates sound across individual drivers instead of placing every frequency source in one housing. A woofer, usually mounted in a door, handles lower and middle frequencies. A smaller tweeter reproduces higher notes and is often positioned near the dashboard or door trim. A crossover directs different parts of the audio signal to the appropriate drivers. This can help vocals sound clearer and cymbals feel more defined. That sounds simple, but it isn’t always. Placement matters.
The audio signal reaches the crossover first, then travels along separate paths to the woofer and tweeter. Some systems use passive crossovers connected between the amplifier and speakers; others divide the signal electronically before amplification. The right setup depends on the vehicle, available space, and the listener’s equipment. A carefully mounted tweeter may create a more natural soundstage, while a loose door panel can add distracting rattles. Small details count. Correct polarity and secure wiring also matter, though they cannot fix poor placement. Component speakers are not automatically better in every car. Listening preferences vary, and installation quality can change the result more than expected. One overlooked detail can undo a good choice.
A component speaker system separates the woofer and tweeter and uses a crossover to direct different frequency ranges to each driver. The ranges shown are illustrative, not fixed specifications: actual driver limits and crossover points vary by design and installation.
Choosing component speakers for a vehicle begins with its physical layout, not a wattage claim. Measure the factory openings and available mounting depth. Check for window tracks, door braces, and space behind the dashboard. A speaker that fits the opening may still interfere with a moving window. Small details matter.
Cabin shape affects what you hear. A compact car can make bright treble feel sharp, while a larger cabin may need careful tweeter placement for clear vocals. Check that the speaker impedance suits the amplifier or head unit, and compare continuous power ratings rather than relying only on peak figures. A separate crossover also needs a dry, secure mounting spot. Even careful measurements can miss a hidden obstruction, so inspect the vehicle before ordering. I still find this easy to overlook.
Tips: Use a tape measure and take photos behind each panel. Keep the original wiring plan handy, and test each speaker at low volume before reinstalling the trim.
| Vehicle Type | Typical Front-Door Woofer Size | Sensitivity to Consider | Typical RMS Power Range | Common Nominal Impedance | Tweeter Placement | Installation Priorities | Evaluation Tip |
|---|---|---|---|---|---|---|---|
| Compact hatchback | 5.25–6.5 in (130–165 mm), depending on the door opening | About 88–92 dB at 2.83 V/1 m for use with a factory head unit | About 40–75 W per channel | Usually 4 ohms | Factory sail panel, upper door, or a securely mounted dash location | Check mounting depth, window clearance, adapter-ring space, and door-panel clearance. | Prioritize efficient speakers and confirm the actual opening; the nominal size alone does not guarantee fit. |
| Mid-size or full-size sedan | Commonly 6.5 in (165 mm); some vehicles use smaller or non-standard openings | About 87–91 dB at 2.83 V/1 m | About 50–100 W per channel | Usually 4 ohms; verify factory-system requirements | Factory dash, sail panel, or upper door position | Inspect factory grilles, wiring polarity, crossover space, and possible factory amplifier integration. | A separate amplifier can provide more clean headroom, but speaker power handling should match the system’s actual output. |
| SUV or crossover | Often 6.5 in (165 mm), with fitment varying by trim and seating row | About 87–91 dB at 2.83 V/1 m | About 60–120 W per channel | Usually 4 ohms; some factory systems use different loads | Factory dash or sail panel, positioned for balanced front-stage sound | Check door depth, moisture exposure, factory amplifier compatibility, and rear-seat listening needs. | Consider controlled bass response and solid door treatment; a larger cabin may need more amplifier headroom. |
| Pickup truck | Usually 6.5 in (165 mm) in front doors; some cab configurations have limited depth | About 89–93 dB at 2.83 V/1 m when using the factory radio | About 50–100 W per channel | Usually 4 ohms; check the vehicle’s factory audio design | Factory dash or upper door position | Measure depth around window tracks, braces, and seat-related trim; use weather-resistant installation materials. | Higher sensitivity can help maintain volume on a basic system, while an amplifier allows more power headroom. |
| Van or multi-purpose vehicle | Commonly 5.25–6.5 in (130–165 mm); layouts differ between front and rear doors | About 88–92 dB at 2.83 V/1 m | About 50–100 W per channel | Usually 4 ohms; confirm before replacing factory speakers | Factory dash, sail panel, or door location aimed toward the seating area | Account for multiple seating rows, door-cavity depth, and the space needed for passive crossovers. | Choose a system with a suitable listening balance for both front and rear passengers, not only the driver’s seat. |
| Classic, imported, or limited-depth vehicle | Measure the opening; 4–6.5 in (100–165 mm) formats may be encountered | About 89–93 dB at 2.83 V/1 m when amplifier power is limited | About 30–75 W per channel, subject to available mounting space | Often 4 ohms, but verify the original system and any modified wiring | Use an existing factory location where possible; avoid obstructing visibility or controls | Measure cutout diameter, mounting depth, grille clearance, and available crossover locations before ordering. | Use a vehicle-specific fitment check and confirm that adapters or modifications will not affect safety or trim. |
| Fitment and performance figures are general selection guidelines, not guarantees for every model year or trim. Confirm the vehicle’s speaker opening, mounting depth, impedance, factory amplifier requirements, and wiring before purchase. Sensitivity figures measured at 2.83 V/1 m are not directly comparable with ratings measured at 1 W/1 m unless impedance is also considered. | |||||||
For global buyers, compatibility starts with measurements, not marketing claims. Check woofer diameter, cutout size, mounting depth, and door clearance against the exact vehicle year and trim. A speaker that fits the opening may still hit a window track. Measure twice.
Compare continuous (RMS) power handling with the amplifier’s clean output; peak power alone says little about daily performance. Match nominal impedance to the amplifier’s supported load, since an unsuitable load can cause overheating or distortion. Sensitivity, usually listed in decibels at one watt and one meter, helps estimate loudness from limited power. Also check crossover settings and tweeter mounting options. Paper specs can mislead.
Vehicle age makes fitment checks especially important. S&P Global Mobility reported that the average U.S. light vehicle reached 12.6 years old in 2024. This is U.S.-specific data, not a global fleet average, but it highlights how often buyers may encounter older wiring, factory amplifiers, or unusual door fittings. Confirm connector type and polarity before installation, and verify whether the original system uses a separate amplifier. Keep the factory wiring diagram nearby. A small mismatch can spoil an otherwise good upgrade.
For daily commuting, choose component speakers that keep voices clear at moderate volume. A separate tweeter can improve placement, but only when installed near ear level or aimed carefully. Check the door depth before buying. A deep midwoofer may collide with a window mechanism, even if its listed diameter fits. Sensitivity matters when keeping the factory amplifier; lower-sensitivity speakers may need more power to play cleanly.
For detail-focused listening, look for a smooth midrange and adjustable tweeter levels. Bright treble can seem impressive in a shop, then become tiring on a long drive. Listen first. Buyers using an upgraded amplifier should also check the speaker’s power handling and crossover requirements. More watts alone do not guarantee better sound. Poor gain settings or loose door panels can add distortion and rattles.
Global buyers face different cabin temperatures, road surfaces, and installation standards. Confirm that replacement parts and technical support are accessible in your region. In hot climates, sun-heated dashboards and doors can expose materials to repeated temperature changes; ask about operating limits rather than relying on vague durability claims. Compare independent measurements when available, but treat them as one guide. Cabin acoustics vary, and a careful installation often matters as much as the speaker itself. One caveat: published specifications do not always describe real in-car performance.
Fitment
Choosing component speakers globally is only half the job; fitment determines whether their detail survives the drive. Before ordering, measure the door opening, mounting depth, and space behind the window at full travel. Factory grilles can limit tweeter placement, while door moisture barriers need careful resealing after installation. Small checks matter. Use rigid adapters, secure wiring away from moving glass, and keep drainage paths clear. Fitment can vary by vehicle trim, even within one model year.
Setup & Tuning
Set crossover points within the speaker manufacturer’s stated range, then adjust gradually by ear and measurement. Keep left and right tweeters aimed consistently; a few centimeters can shift the stereo image. Check polarity, balance, and equalization from the driver’s seat, with doors closed and windows up. Excessive treble may sound exciting in a shop, then become tiring on rough roads. Listen again. No preset can account for every cabin, seat position, or recording, so leave time for careful adjustment.
Buying Considerations
Regional buying also means checking exact vehicle compatibility, warranty coverage, return shipping, and replacement-part availability before paying. Hot cabins, heavy rain, and dusty roads can expose weak mounting or poor sealing. Some markets receive different trims or imported vehicle versions, so confirm dimensions rather than relying on a familiar model name. A local installer can inspect the car, not just the product sheet. That extra check may feel fussy, but it can prevent an expensive mismatch. Even careful planning may leave room for another tuning visit.